Posts tonen met het label Copics. Alle posts tonen

vrijdag 23 oktober 2015

More Santa's from Verses.....


Hallo bloglezers,

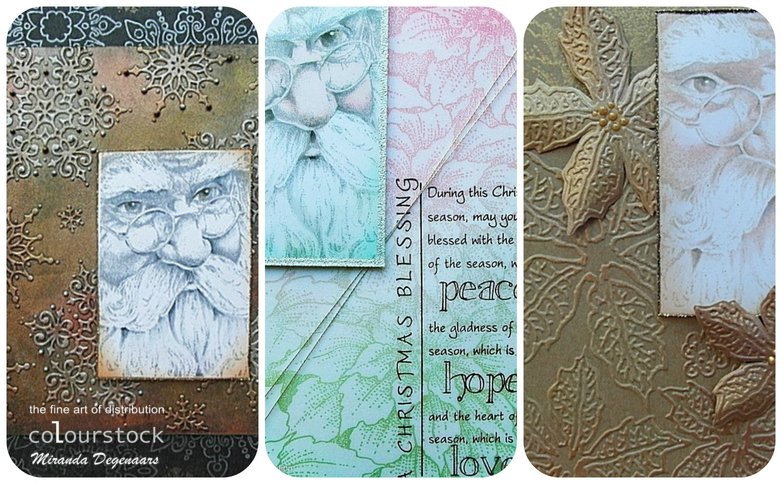
Zoals ik jullie vorige keer beloofd had ben ik met de andere twee Santa's aan de slag gegaan. Het zijn twee heel verschillende kaarten geworden maar dat geeft juist zo leuk aan dat je met dezelfde stempel weer een totaal andere uitstraling kan krijgen als je andere kleuren en materialen gebruikt.
Voor een stap voor stap beschrijving kun je op het Colourstock blog kijken. Hier vind je ook nog veel meer tips voor het werken met Pan Pastel en Copic markers.

De gebruikte stempel van de kerstman en de tekst zijn van Verses en kun je hier vinden. De mooie grote Poinsettia achtergrondstempel is van Chocolate Baroque.

De achtergrond heeft nu de mooie parelmoer glans die moeilijk te vangen is op de foto.


Kerst tekst (Verses)
En dan naar nummer twee, de ' Vintage' Santa, weer geheel anders........
Hier heb ik gewerkt op kraft papier en met de metallic Pan Pastels.


Hier zie je de mooie glans van de metallic Pan Pastels op het kraft papier.

Hieronder nog even alle drie de Santa's naast elkaar.......
Had je de eerste Santa nog niet gezien.....deze staat hier met een stap voor stap foto tutorial


Ik hoop jullie geïnspireerd te hebben met deze vrolijke Kerstman en deze technieken.
Bedankt voor je bezoek en heb je toch nog vragen, stel ze gerust!


donderdag 8 oktober 2015

Dear Santa......


Hallo allemaal,

Vandaag laat ik jullie zien hoe je zwart papier heel mooi kunt bewerken met een embossing folder en de metallics PanPastel. Ze hebben toch zo'n mooie rijke uitstraling.
Ik neem jullie weer stap voor stap mee in het creatieve proces.....deze hele beschrijving kun je vinden op het Colourstock blog.

Ik heb deze mooie Old World Santa stempel van Verses drie keer gestempeld met Memento inkten op Copic marker papier. Ik heb ze ook alle drie gekleurd met Copic markers. Op de foto worden de diverse inktkleuren genoemd en kun je het verschil goed zien.

Hi there,

Today I show you how you can work on black paper using an embossing folder and the Pan Pastel metallics. They are so rich......I will take you on a step by step photo tutorial. You can watch that on the Colourstockblog here.

I have stamped this beautiful Old World Santa stamp from Verses 3 times using different colors Memento inks. I have coloured all three Santa's using Copic markers. You can see the list of materials also at the Colourstockblog.


This is done using an embossing folder on black paper.


Op de achtergrond heb ik een grote stempel met sneeuwvlokken gebruikt, Big Bold Outline snowflake (Chocolate Baroque) Eerst met Versamark afgedrukt en hierna de Metallic Pan Pastel zilver gebruikt. Daarna nog wat kleine sneeuwvlokjes en met Pan Pastel goud bewerkt.

On the background I have used the large background stamp from Chocolate Baroque called, Big Bold Outline snowflake . Stamped with Versamark and than added Pan Pastel Metallic Silver. Than some small snowflakes with Pan Pastel Gold.
I also die cut a large snowflake and added also Pan Pastels metallic.


And than the result.........

De volgende keer de andere Santa's.......
Ik hoop jullie geïnspireerd te hebben met deze creatie en heb je vragen......stel ze!
Bedankt voor je bezoek,

Next time more Santa's.......
Hope to have inspired you and if you have questions, don't hesitate to ask!
Thanks for your visit,


woensdag 23 september 2015

Autumn woman


Hi there,

Today I want to show you my creation which I've made for the Colourstock blog. I have played with the Copic markers and the Pan Pastels. I finally played with my(still new) stamp from Carabelle, Visage Helena and some leaf stamps from Sheena Douglas.
I have stamped on kraft paper and coloured Helena mainly with Pan Pastels.
Please hop over to the Colourstockblog to see a step by step photo tutorial and the product list.
Here is my creation,

Hallo daar,

Vandaag laat ik jullie mijn creatie zien die ik maakte voor het Colourstockblog. Ik heb gespeeld met de Copic markers en Pan Pastels. Eindelijk een keer met m'n(nog steeds nieuwe) Carablee stempel, Visage Helena en wat blad stempels van Sheena Douglas.
Ik heb gestempeld op kraft papier en Helena hoofdzakelijk gekleurd met Pan Pastels.
Neem een kijkje op het Colourstockblog als je wilt weten hoe ik het gemaakt heb. Je kunt daar een uitgebreide stap voor stap vinden met foto's.

Hier is ze dan.......


I used one of the beautiful sentiments from Verses, you can find it here. (FS1113-D)
I've added some Viva magic transparant pearl pen droplets as a finishing touch.

Ik heb een van de mooie tekststempels van Verses gebruikt, je kunt 'm hier vinden.(FS1113-D)
Tot slot nog wat druppels met de Viva Magic transparant pen voor de finishing touch.


Thanks for visiting and till next time,
Bedankt voor je bezoekje en tot de volgende keer,


maandag 8 juni 2015

Go for that what makes your heart sing.........


Hi there,

Today two cards which I've made for the Colourstock blog. In the last post I've showed you some tangled flowers and I promised to make a background to put them on........well I had so much pleasure in doing that! I really love to tangle and I could go on for hours........

I finally found my inspirational source after a long time so I just wanted it to mention:
http://juliannakunstler.com

When you take a look on the Colourstock blog you can see the step by step instructions of the first card. The 2nd card is made using the left over flowers.

I have used the Creative flowers no. 3 from Crealies. They have large petals and you can easily draw some patterns on them. I also used a swirl die cut and tangled that too.

Hallo allemaal,

Vandaag twee kaarten die ik gemaakt heb voor het Colourstock blog. In de laatste blogpost heb ik jullie wat getangelde bloemen laten zien en beloofd dat ik er een achtergrond voor zou maken. Ik heb zo veel plezier gehad om dit te doen......heerlijk....ik kon er wel uren mee doorgaan!(haha heb ik ook wel gedaan)

Ik heb na lange tijd uiteindelijk mijn inspiratiebron gevonden en wilde dit nog even melden;
http://juliannakunstler.com

Wanneer je een kijkje neemt op het Colourstock blog kun je de stap voor stap beschrijving zien van de eerste kaart. De 2e is gemaakt met wat bloemen die ik over had.

Ik heb de Creative flowers no. 3 van Crealies gebruikt. Die hebben grote blaadjes en daar kun je lekker op tekenen. Ik heb zelfs de swirl gekleurd en getangeld.


This beautiful Dutch sentiment says: 'Go for that what makes your heart sing'............and creating this it really sang! The text stamps I've used are all from Inkerbell stamps.

Deze mooie Nederlandse tekst zegt: Ga voor datgene dat jouw hart doet zingen.........en dat was ook zo bij het tekenen van deze achtergrond en bloemen!
De stempelsheets van Inkerbell staan hieronder vermeld.

Inkerbell sheets:
en de bladeren van de


This beautiful Dutch sentiment says: a bit of love can be like a drop of water which strengthens the flower to come alive again.

I had some left over flowers and made this black card to put them on. I've embossed the card with a M-Bossabilities folder and added blue and green pearlescent Pan Pastels and for the label some gold metallic Pan Pastel..

Ook deze mooie tekst is van Stempel atelier Dordrecht (Inkerbell stamps) en er zijn er nog veel meer! Sinds kort verkoopt Pipoos in Dordrecht ook een aantal sheets van Inkerbell. Zij zijn ook gespecialiseerd in religieuze teksten.

Ik had nog wat bloemen over en heb ze verwerkt op deze zwarte kaart. Eerst geembosst met een M-Bossabilities folder en daarna bewerkt met de pearlescent Pan Pastels.

Hope to have inspired you to start drawing and tangling! It's not difficult and such fun! And remember, sometimes the road is far more important than the destination!

Hoop jullie geïnspireerd te hebben om met tekenen en tangelen te beginnen! Het is niet moeilijk en zo leuk!
En onthou dat soms de weg belangrijker is dan de bestemming! Oftwel....spelen, proberen en ontdekken is belangrijker dan het resultaat.


Thanks for visiting and till next time,
Carpe diem,


BewarenBewaren

zaterdag 23 mei 2015

Another Peacock lady for the Colourstock blog


Hi there,

Today it's my turn to show you a creation which I've made for the Colourstock blog using their products. This time I have finished the 2nd background made with the cover a card from Impression Obsession called Peacock feathers. If you want to see the other background and creation, just take a look here.

I have been working with Copic markers on the main image of the girl(Sweet Pea stamp) and the background is made with Pan Pastels. I have a lot of these Sweet Pea face stamps because I love to color and draw faces.

I have taken several photo's during the coloring process.......so let's get started.....
I've stamped her with Memento London Fog and first coloured the face(look for the exact colors on the Colourstock blog)

Hallo allemaal,

Vandaag is het mijn beurt om jullie te laten zien wat ik voor het Colourstock blog maakte met hun producten. Ik heb de 2e achtergrond afgemaakt die ik met de cover a card van Impression Obsession maakte, Peacock feathers. Voor degenen die het eerste blogbericht niet hebben gezien, dit is de achtergrond in stappen.

1e laag- Pan Pastels aangebracht met de big oval sponge
1st layer- Pan Pastels applied with the big oval sponge

de pauwenveer achtergrond gestempeld met blauw en groen
Peacock feathers stamped with blue and green ink


gedeeltelijk ingekleurd met Pan Pastels en kleurpotlood accenten
partially coloured with Pan Pastels and accents of col.pencils

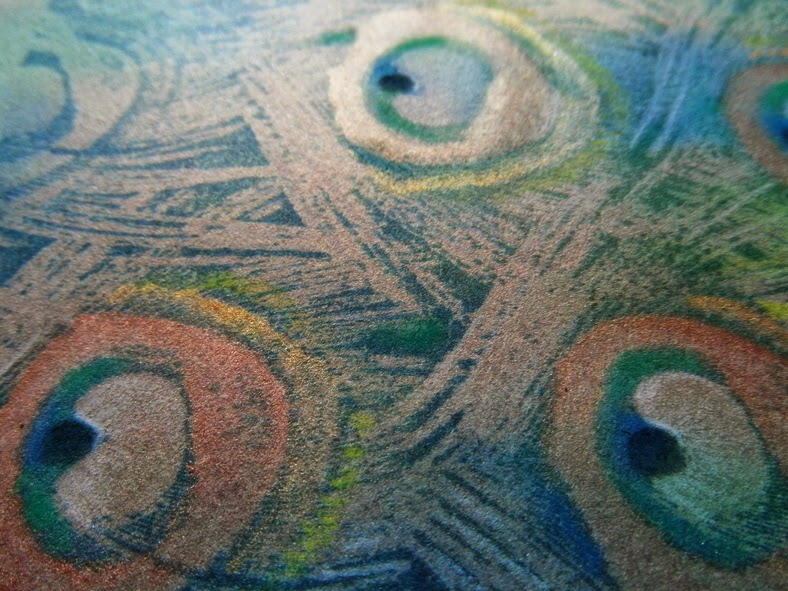
hier kun je de glans van de Metallic Pan Pastel goed zien
here you can see the shine of the Metallic Pan Pastels even better
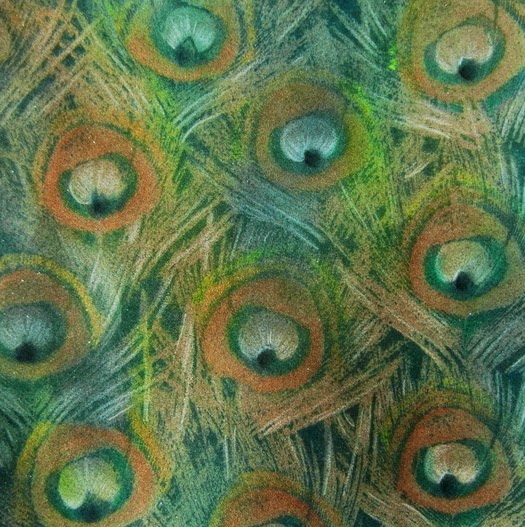
 the finished background
de uiteindelijke achtergrond


eerste laag- het gezicht gekleurd met Copic markers
first layer- coloring the face using Copic markers

Bij de eerste laag had ik alleen de E kleuren en de R20 gebruikt, ik miste diepte en schaduw.....


Bij de 2e laag de C kleuren aangebracht op de schaduw plekken, zie je het verschil?


Nog een laag met de C serie.......


laatste lagen en het is klaar......


coloring the flowers


flowers and first layer of coloring the first layer of hair


2nd and 3rd layer of hair


4th layer of hair coloring


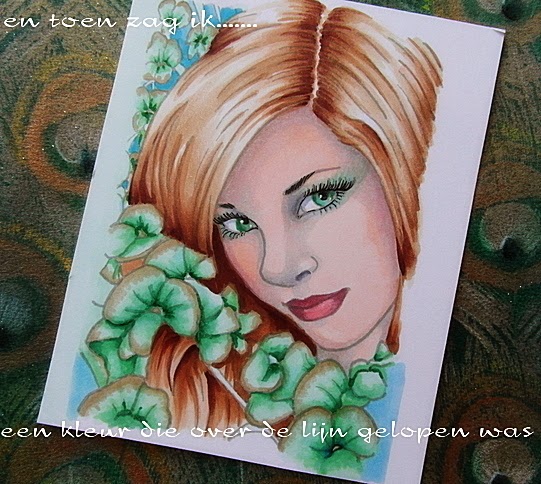
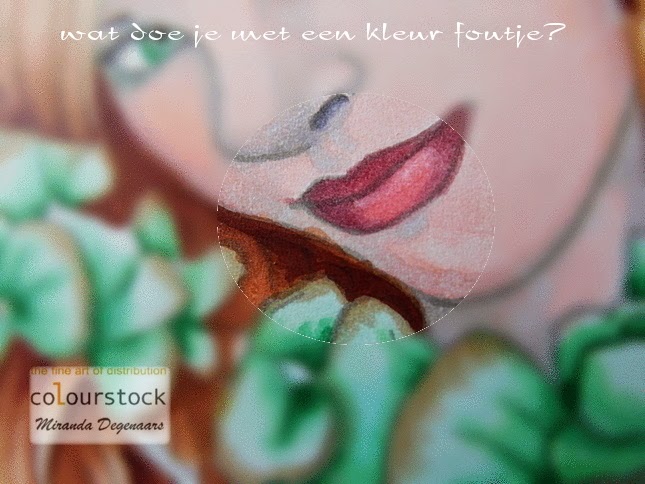
And than I noticed an outside the lines color mistake at the side of her face....


what to do when you have a ' bleeding' problem?


I've used the colorless blender to ' push' the color back.......


And that helped.......so here is my finished  'Peacock lady'.......o yes I almost forgot.....I wanted to add some matching die cut flowers to it and found the old Crealies Creative flower no.3 which I coloured using the same Copic colors. Isn't that lovely?

En dat hielp......dus hier is de uiteindelijke versie van mijn ' Peacock lady' o ja bijna vergeten...ik wilde nog wat bloemen toevoegen die bij de afbeelding pasten en vond de oude Crealies Creative flower no.3 die er perfect bij paste. Ik heb ze gekleurd met dezelfde kleuren Copics. Is het niet mooi geworden zo?


And than I had some flowers left to play with....and I 'tangled' them, it's such fun to do! I've used a green Copic multiliner no.1 and used the same Copic markers. Next time I will create a background for them!

En toen had ik nog een aantal bloemen over........en had ik eindelijk eens wat tijd om lekker te 'tangelen', het is zo heerlijk om te doen! Ik heb de groene Copic multiliner 01 gebruikt. Volgende keer geef ik ze een achtergrond........


Well, hope to have inspired you and if you want to know the colors I've used and the background technique just take a look here and here on the Colourstock blog.

Hope to see you next time!

Zo, ik hoop jullie geïnspireerd te hebben! Als jullie de gebruikte kleuren willen weten neem dan een kijkje op het Colourstockblog, daar staan ze allemaal vermeld.
En deze geweldig mooie peacock achtergrond stempels zijn te koop bij de Posthumuswinkel in Amsterdam!

Hoop je volgende keer weer te zien en bedankt voor je reactie, vind ik altijd leuk om te lezen!


' DANCE'

While I dance I cannot judge,
I cannot hate, I cannot separate myself from life.
I can only be joyful and whole.
That is why I dance.”
~Hans Bos